by Kris Cone | Jul 1, 2015 | Real Estate Info
Introducing our own version of a time machine – Video History!
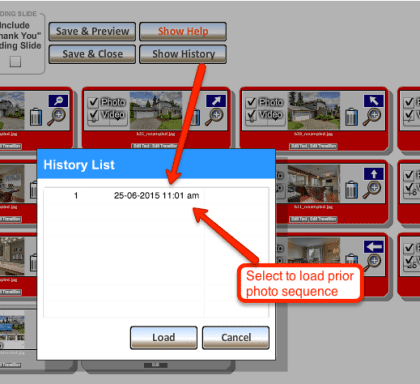
We recently added an ability to look back and use prior saved versions of your Photo/Video timelines!
How it Works
Once you have made at least one save to your video, there will be a History button. Click it and you will see prior versions of the video. So, if you made changes or something happened to your video, and you want to revert back to a prior sequence, just select one of the other saves. It will load, and then hit Save & Close.
That’s it! Enjoy.
by Kris Cone | Jul 1, 2015 | Real Estate Info
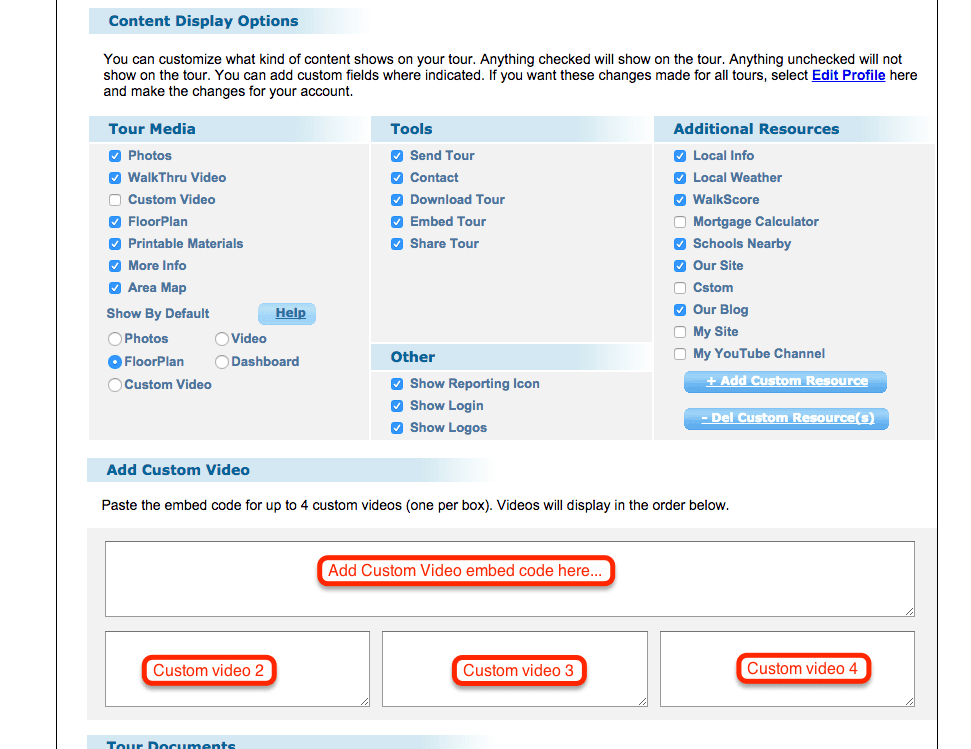
Introducing a major enhancement to the Custom Video embed option for the Full Screen HD tour. Now, you can embed up to 4 custom videos!
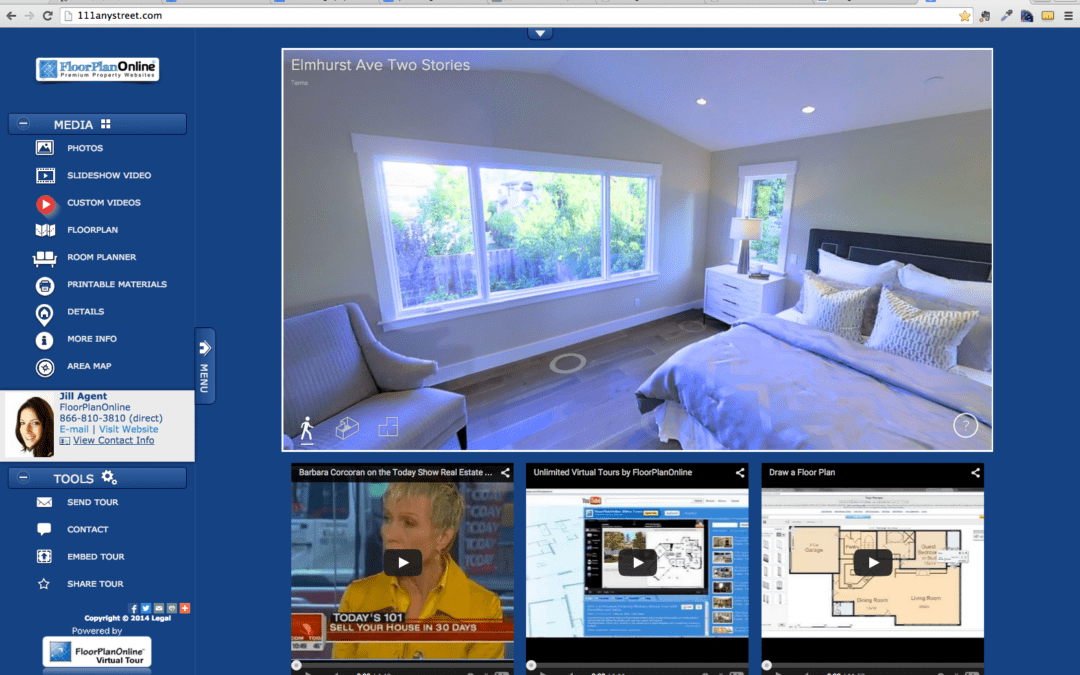
Previously, you could embed one custom video…but what about the area tour video, or the aerial video, or maybe even a custom virtual tour you want to add to your main FloorPlanOnline tour? Well now you can embed up to 4 videos or other tours if you are using the Full Screen HD Tour viewer! Simply go to Edit Details for any listing (select the Full Screen tour at the top if you want to use the custom video updates) and paste the embed code from any video into the custom video fields. The main video is featured larger on the page, and 3 other videos are displayed below. The user can then use the full screen button to pop the video in full screen, if desired.
You have an option to also show on the unbranded tour version as well….but remember if any video has your branding or contact info, do not show it on the unbranded version. Also, this should work on the iPad version, but it is not supported for the smartphone version at this time.
You can see an example
here where we embedded some random videos, as well as a Matterport tour.
by Kris Cone | Jun 9, 2015 | Real Estate Info, What's New
We want your opinion!
Help shape our future product and service roadmap. Please fill out our survey.
Take our Survey

by Kris Cone | Apr 27, 2015 | Listing Tools, Technology
We have long had a way to add a custom video to your tour, such as a YouTube or Vimeo video. Well, this same tool can be used to embed a Matterport 3D home scan into your tour. Just copy and paste the embed code provided by Matterport into the Custom Video section on Edit Details. We are working on some enhanced ways to embed content, including being able to change icons and multiple embeddable content options…so look for that soon. In the meantime, see this example tour.
or here is the embedded version, where you can embed your whole tour on a webpage or blog post, just like this, and easily provide all that great content on your own website! Just click Video to see the Matterport Tour.
[fpotour emt=”embeded” bgc=”ffffff” ftc=”1d1363″ bnm=”1″ tbs=”01111111″ swi=”3″ oid=”134590″ mtp=”0.80″ uid=”FG7IK3IE” wid=”800″ hid=”600″]
Note, we drew the floor plan from the top view of the home scan. So, you can provide us the embed code and we can create the floorplan just from the scan. As a Subscriber, that is just $30, or if you create a self service tour, it is just $69 to clean up a plan, up to 10,000 sq ft! The photos were taken from screen shots of the tour as well, so that is why the quality is less and you can see the dots of the scan placement.
While at this time we do not officially provide the matter port Scan service, this at least allows you to embed it into the overall virtual tour and still use our platform for the print marketing (customizable brochures with the clean floor plan), tour distribution, YouTube Videos and even lead capture on the tours. Plus you are in complete control of when and where the virtual tour shows and what people can see, since your system has supported virtual tour functionality for the last 10 years!
-enjoy
Kris Cone
by Kris Cone | Apr 3, 2015 | Real Estate Info
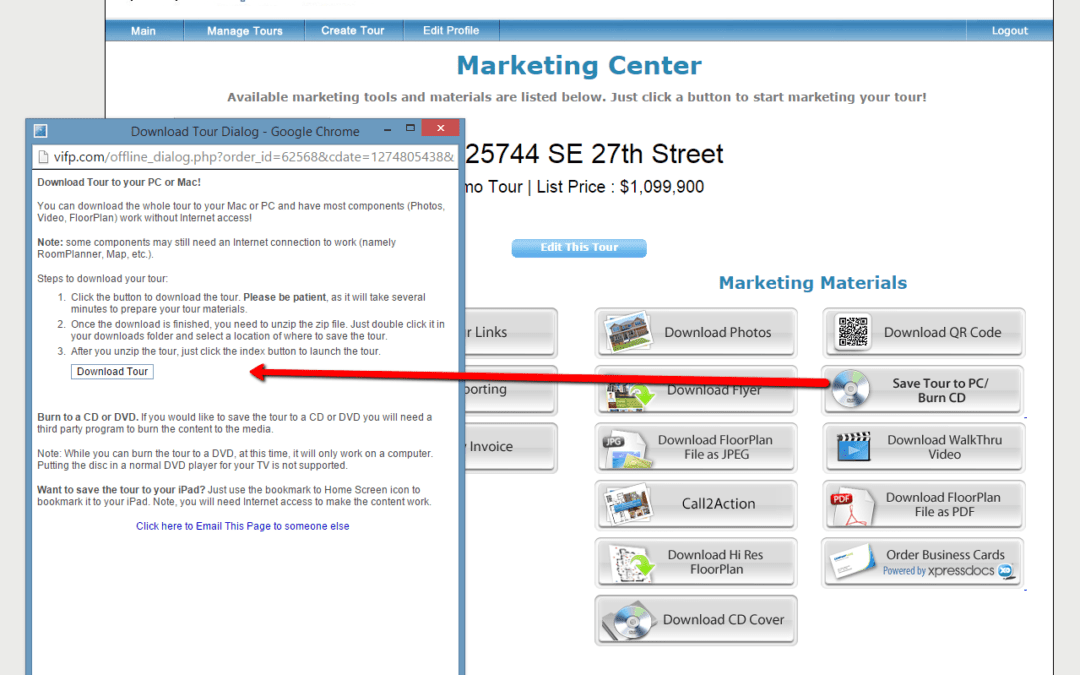
Great news! We have updated the offline tour functionality for our Full Screen HD Tour to work with either a Mac or Windows based computer. Previously, our old offline tour was only Windows compatible. Plus, the offline tour matches the online version exactly. So when you open it up, you get big photos and floor plans that you can view without any Internet access! Our video even works! Please note that some features, like the RoomPlanner or the Map, still need Internet access to work. However, you can use this for listing presentations and not have to worry about being connected.
Steps to get started.
1. You need to use the Full Screen HD Tour.
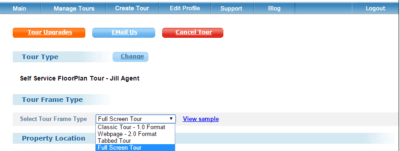
You can change any tour to the new Full Screen HD Tour by going to Manage Tours, select the Edit details link under Tour Info (or Edit Tour) and select the Full Screen Tour option under Tour Frame Type.
2. Go to the Marketing Center to download the tour.
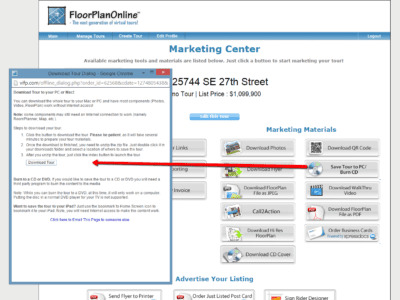
From Manage Tours, go to the Photos & Marketing Tools link. Select the Save Tour to PC/Burn CD button. It will open a window. Just click the button for Download Tour.
Note: Our server will process the files for download…so be patient. I can take a minute or two before you see any movement…
Once it is downloaded to your computer, you will need to unzip the files. For Mac users, just double click the zipped folder and it will be unzipped into a new folder. For Windows users, you need to select the Extract Files button.
3. Click to Launch Offline Tour.
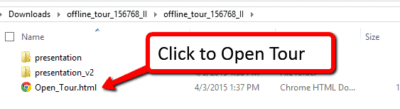
Once the files are extracted into a new folder, to launch the offline tour, just click the Open_Tour.html button.
4. Burn to a CD.
With the new offline tour, you can burn it to a CD or DVD for use on another computer. Just select the unzipped folder, right click and Send to… and select your CD or DVD drive. Just note…many computers now days do not have a CD or DVD drive. So the best use of your tour is the flyer with the link and QR code on it to direct the user to the online version.
That’s it! Enjoy!
by Kris Cone | Feb 13, 2015 | Help & FAQ, Listing Tools
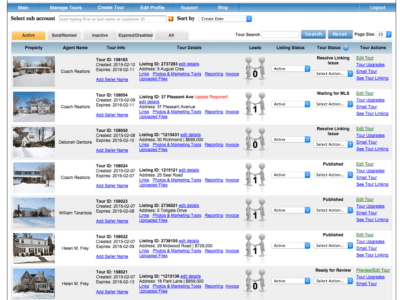
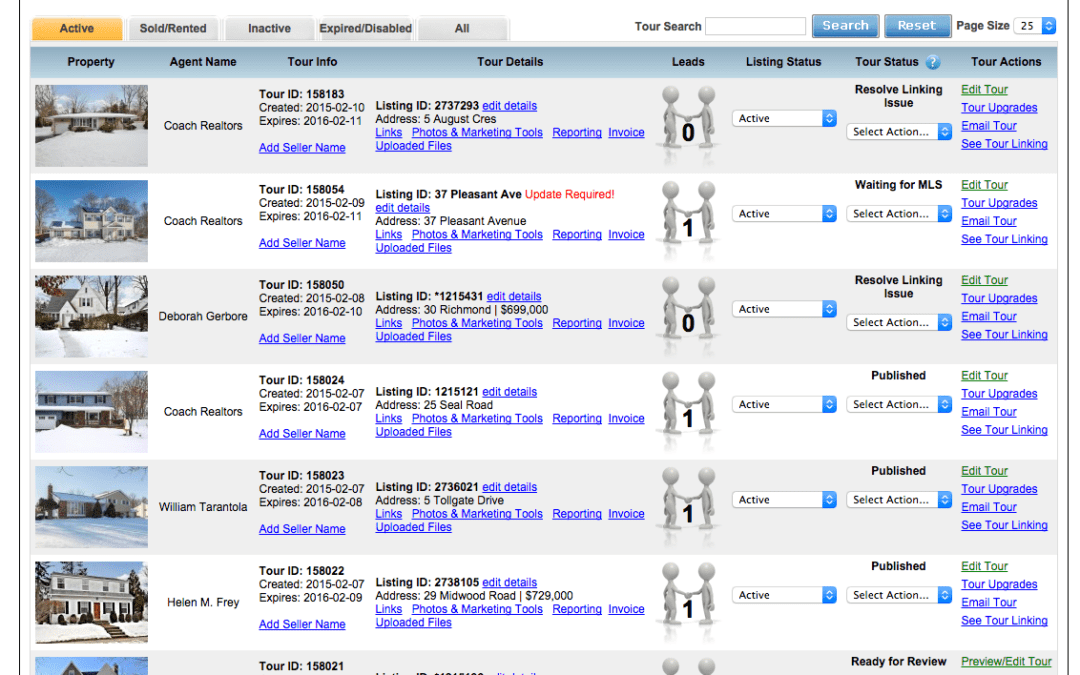
Do you have a corporate account and want to get all agents under one main account? No problem, we support corporate and sub account set ups. So, you can have all agents, all tours under one account (or a series of office accounts) to manage tours and content from one convenient place. We can also set it to bill the main account for all tours and charges. This is great if you want to do a corporate deal for our subscription program and pay for all agents. We could also invoice the company for subscription and charge the agents for individual tour upgrades, if desired. Minimums apply here, so please contact sales if you are interested in this option.
If you have accounts already, just contact care and we can convert an existing account to a corporate account and then move other accounts underneath it. This is something we need to do…you can’t do that part. Otherwise, just use the sign-up link and create a new corporate account, and then contact us and we can help finish the set up.
It really makes account administration a lot easier…so give it a try!